Call Us Today!
Call Us Today!
How Do I Install Christmas Lights on my Roof?
7 December 2024
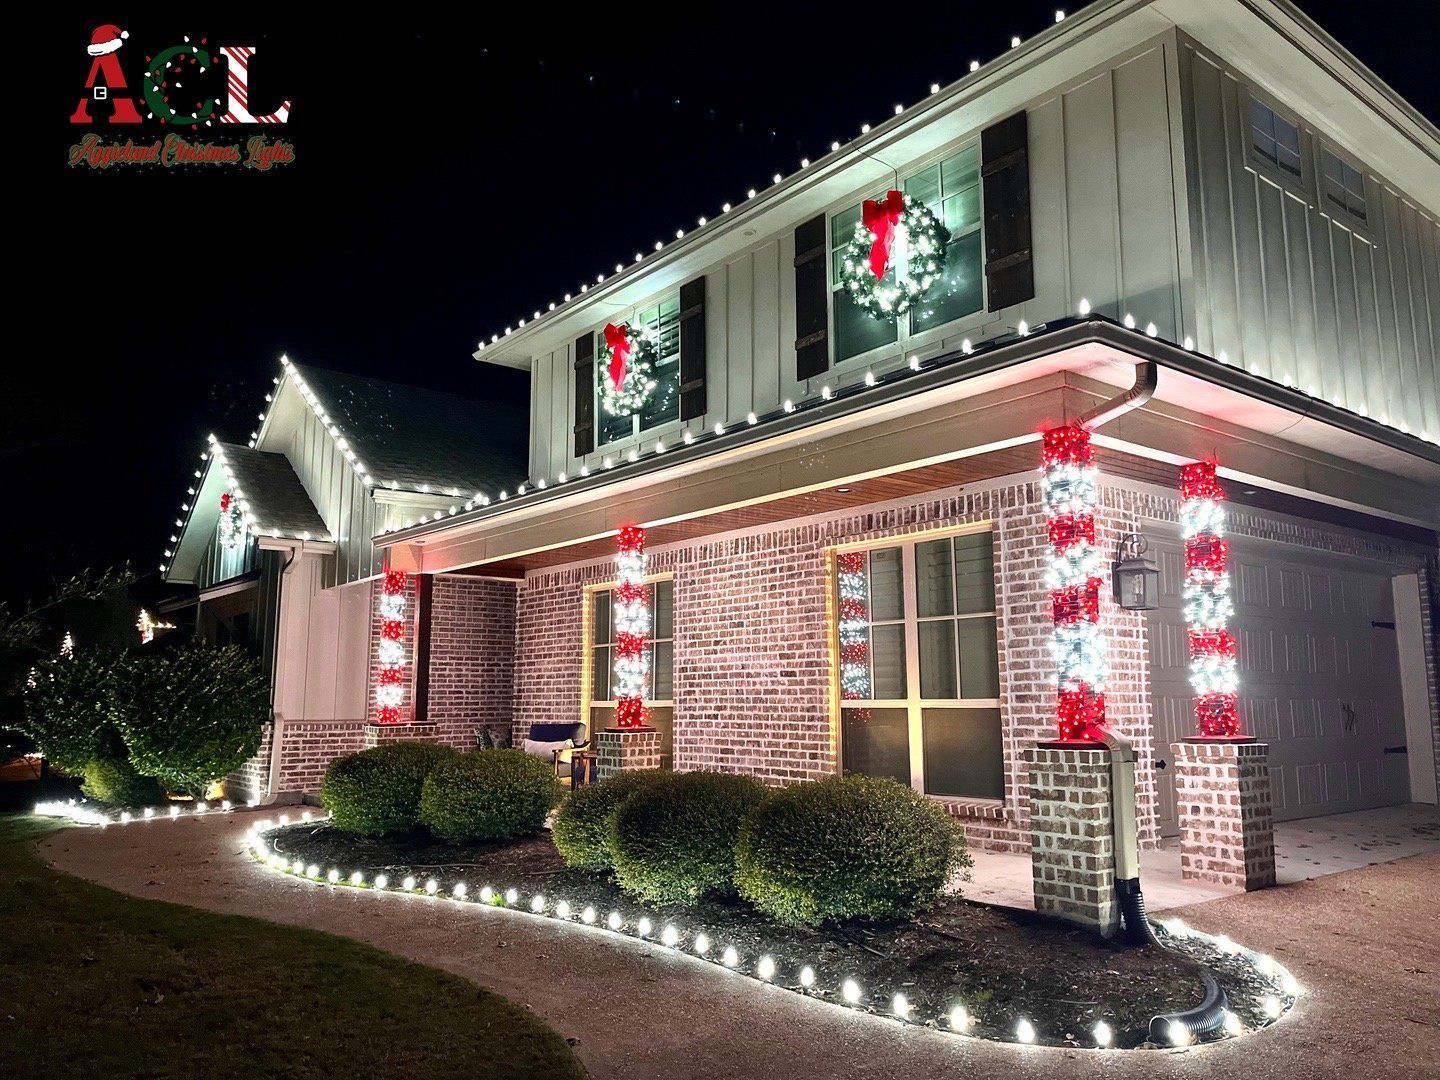
Proper Installation of Christmas Lights on your Roof
Attaching Christmas lights to your roof properly ensures safety and a beautiful, long-lasting display. Here's a step-by-step guide to help you do it right:
1. Plan Your Layout
Measure the roofline: Before you start hanging the lights, measure the length of the roofline or the areas where you want to place the lights. This will help you determine how many strings of lights you'll need.
Decide on the type of lights: Choose between incandescent or LED lights, depending on your preference for brightness, energy efficiency, and color.
Consider using clips: Look for plastic light clips designed for roof installation. These are safer and hold the lights in place without damaging your roof or shingles.
2. Gather the Necessary Materials
Christmas lights (with appropriate length and type).
Light clips or hangers (such as C9 clips, shingle clips, or gutter hooks).
Extension cords (if needed).
Ladder or step ladder.
Outdoor-rated extension cords (for safety).
3. Check the Lights
Test the lights: Plug the lights in before you start to ensure they work. This saves time and prevents frustration once you're on the roof.
Inspect for damage: Look for frayed wires, exposed bulbs, or faulty connections that might pose a safety hazard.
4. Safety First
Use a sturdy ladder: Make sure your ladder is in good condition, stable, and placed on a flat surface. If possible, have someone assist you for extra support.
Wear appropriate clothing and shoes: Wear non-slip shoes and be careful when moving around on the ladder or roof.
Avoid overreaching: Don’t stretch too far; it’s safer to move the ladder as needed.
5. Attaching the Lights
Use light clips: Attach light clips along the edge of the roofline or gutter. These clips are designed to hold the lights securely without damaging the roof. Place clips every 12-18 inches.
Hang lights on gutters or shingles:
For gutters: Use clips that slide under the gutter and hold the light strand.
For shingles: Use clips that hook over the shingles or secure the lights to the edge of the roof.
Avoid nails or staples: Never use nails or staples to attach the lights, as they can damage the roof, wires, or shingles.
6. Secure the Extension Cords
Plug in safely: If you need to use an extension cord, make sure it is outdoor-rated and has a grounded plug.
Route cords carefully: Run extension cords through areas that are out of the way and secure them with cord clips or hooks, making sure not to trip over them.
7. Test the Lights Again
Plug everything in: Once all the lights are hung and the cords are in place, plug them into the power source and check the entire display to make sure everything works properly.
8. Turn Off When Not in Use
Use a timer: To save energy and make things easier, consider using a timer to turn the lights on and off automatically.
9. Safety Tips
Don’t overload circuits: Be sure not to exceed the recommended number of lights per extension cord or outlet to prevent overheating.
Check weather conditions: Avoid hanging lights during bad weather, especially windy or icy conditions.
By following these steps, you'll be able to hang your Christmas lights safely and properly, creating a festive atmosphere while protecting your roof and lights from potential damage.
About Us
We are a full-service roofing company. We are licensed and insured as a roofing contractor and roofing company and are passionate about the work we do! We’re not just there to get the job done – we take pride in what we do.
Are You On A Tight Budget And Need Financing For Work On Your Home?

A Direct to Roof Deck Water Barrier is a type of roofing material or system designed to provide waterproofing protection directly on the roof deck, which is the structural surface or base of the roof. It acts as a protective layer to prevent water from penetrating through the roof system into the building beneath. Key points about Direct to Roof Deck Water Barriers: Waterproofing Layer: It is typically a membrane or coating that is applied directly to the roof deck (usually made of wood, concrete, or metal) before any additional roofing layers are installed. Protection Against Leaks: The main purpose of this barrier is to keep water from entering the building in case the outer roof covering (like shingles or tiles) gets damaged or leaks. It provides an additional layer of security to prevent water infiltration. Materials Used: These barriers are often made from materials such as modified bitumen, rubberized asphalt, or synthetic polymer membranes, which are designed to resist water and weather conditions. Applications: Commonly used in commercial and residential roofing, especially in areas with heavy rainfall or snow. They are also helpful in situations where the roof deck might be exposed to weather before the full roofing system is completed. In essence, a Direct to Roof Deck Water Barrier ensures that the underlying roof deck is protected from water, even if the outer layers of the roof are compromised.
What Is A GAF Certified Contractor And Why Should I Hire One? A GAF Certified Roof Contractor is a professional roofing contractor who has been certified by GAF, North America's largest roofing manufacturer . GAF Certified Roof Contractors have undergone rigorous training and have demonstrated a commitment to ongoing professional development in the roofing industry. When you hire a GAF Certified Roof Contractor, you can have confidence that you are working with a skilled and reputable professional who is dedicated to providing high-quality workmanship and exceptional customer service. GAF certification also means that the contractor is licensed, adequately insured, and has a proven reputation in the community. By choosing a GAF Certified Roof Contractor, you can have peace of mind knowing that your roofing project is in capable hands. The benefits of hiring a GAF Certified Roof Contractor are numerous. First and foremost, GAF certification is a mark of quality and reliability. GAF is a highly respected and renowned roofing manufacturer, and they only certify contractors who meet their strict standards for excellence. When you hire a GAF Certified Roof Contractor, you can be assured that they have the necessary expertise and training to install your roof to the highest standards. Additionally, GAF Certified Roof Contractors have access to top-quality materials and exclusive warranties that may not be available through non-certified contractors. This means that you can expect a superior roofing system and added peace of mind regarding the longevity and performance of your roof. To become a certified GAF contractor, roofing professionals must meet certain requirements set by GAF. These requirements typically include a proven track record of providing high-quality roofing services, appropriate licensing and insurance, a commitment to ongoing professional development, and adherence to GAF's installation standards. Additionally, contractors must attend GAF's comprehensive training programs to ensure they are up to date with the latest industry best practices and product knowledge. As for the percentage of roofers certified by GAF, it's difficult to provide an exact figure as it can vary by location and over time. However, GAF has a substantial network of certified contractors across the United States and Canada. Many reputable roofing companies choose to become GAF Certified Roof Contractors due to the credibility and benefits associated with the certification. In conclusion, hiring a GAF Certified Roof Contractor provides homeowners with the assurance of working with a skilled professional who is dedicated to delivering high-quality roofing solutions. The certification signifies expertise, reliability, and access to superior roofing products and warranties, making it a valuable consideration when selecting a contractor for your roofing needs.
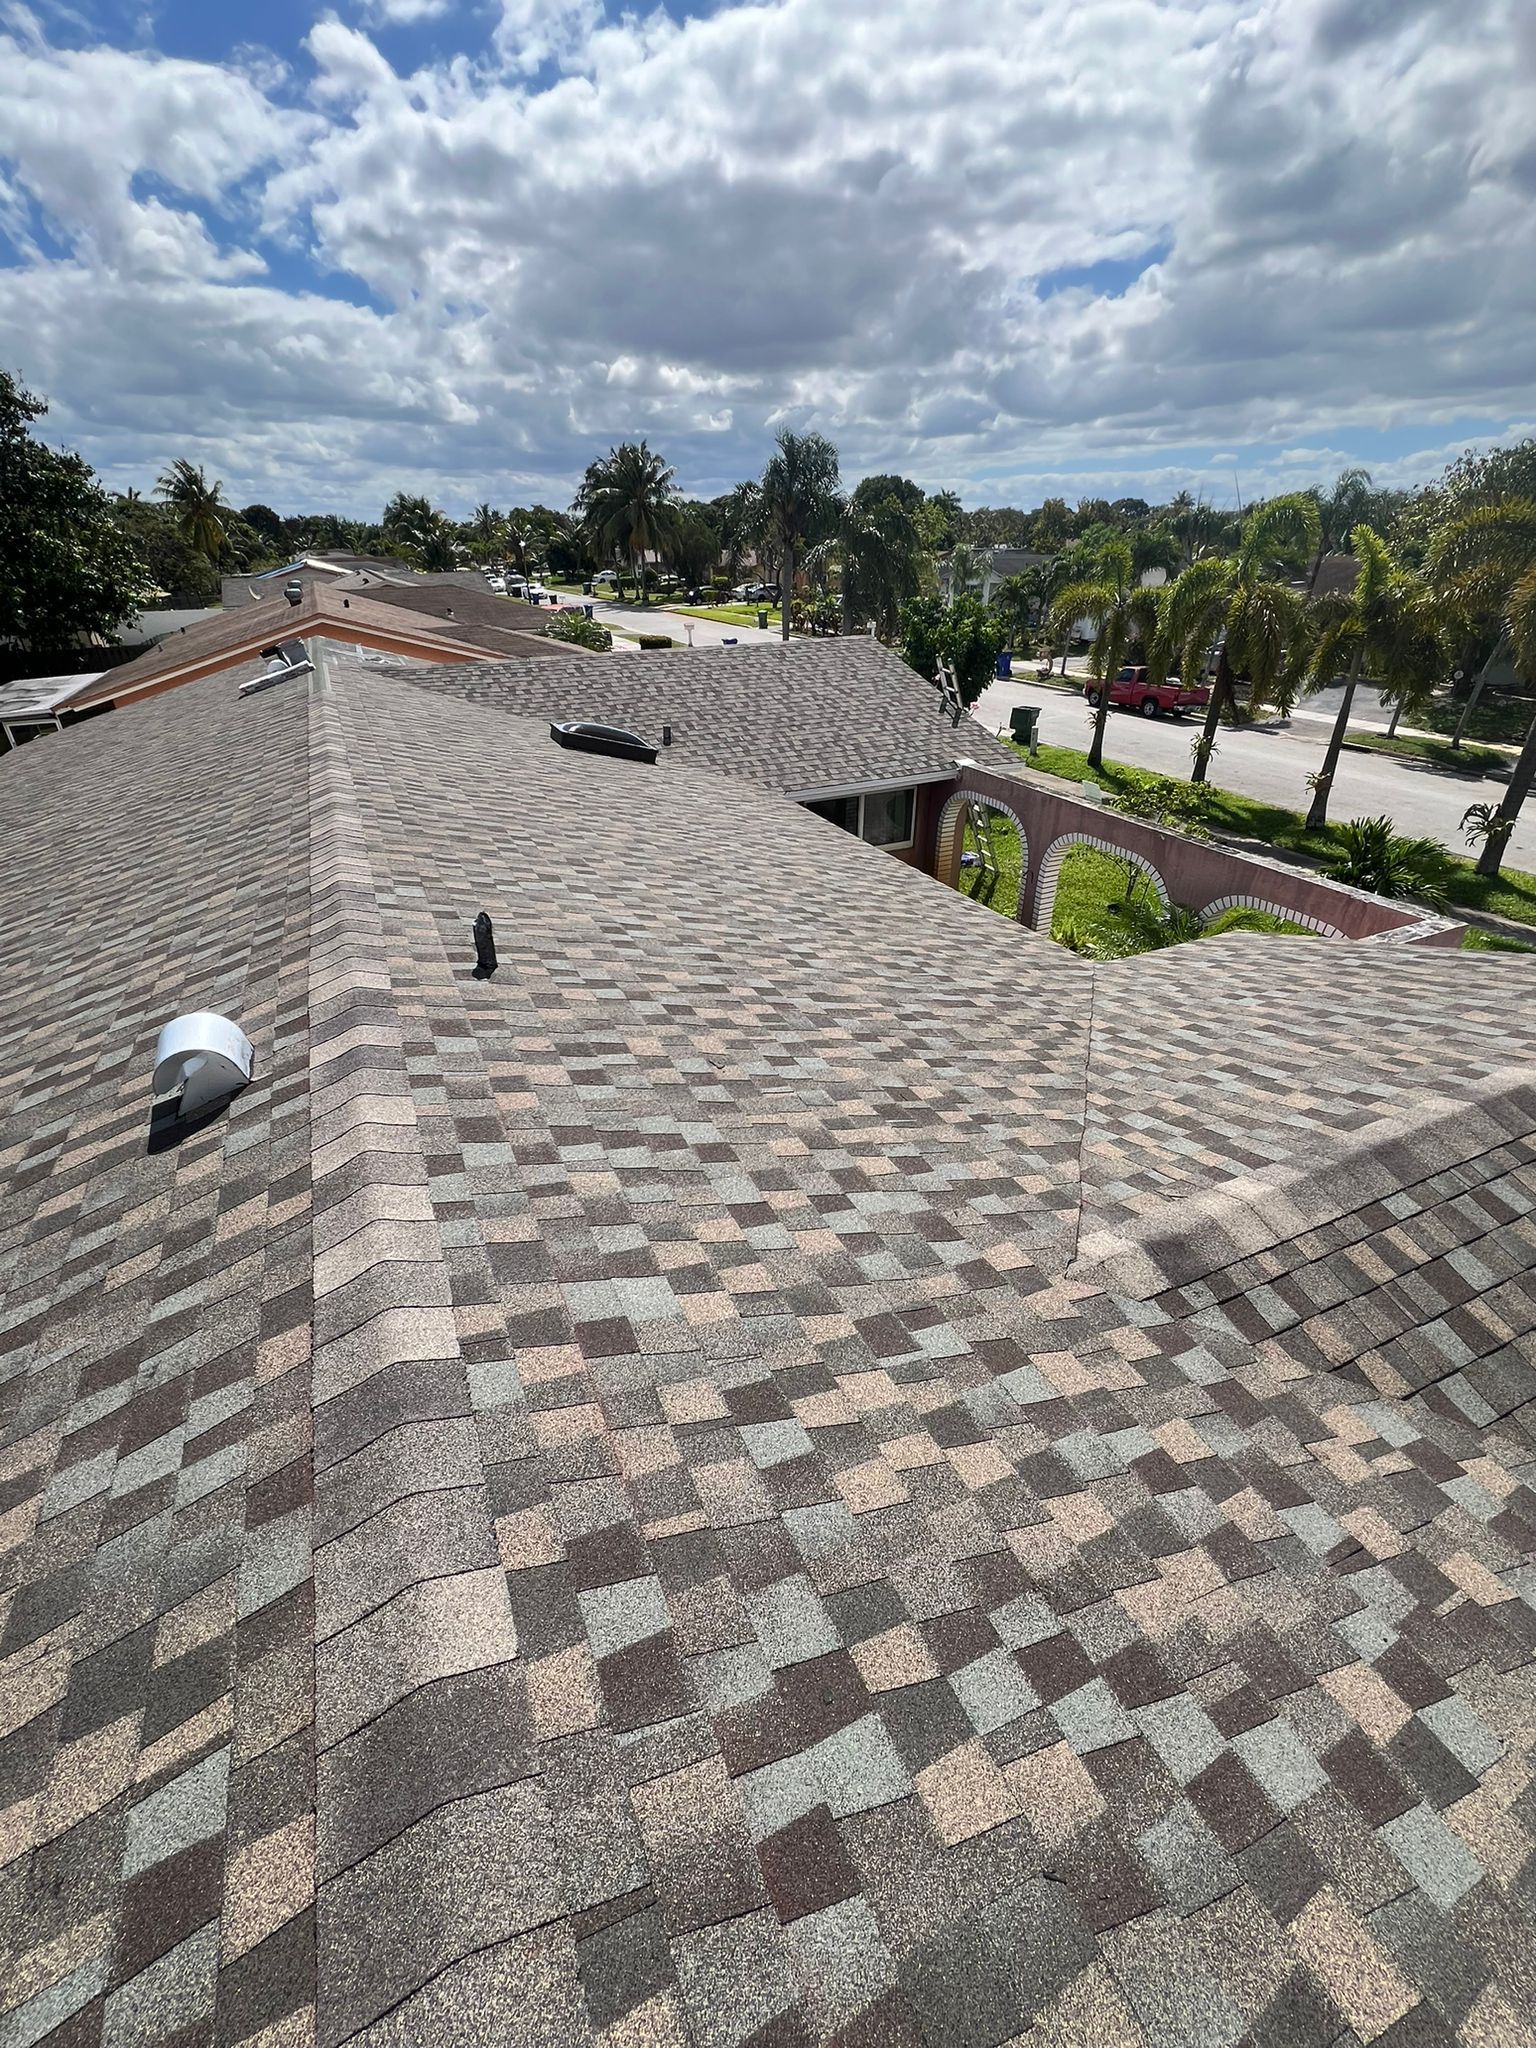
What Are Architectural Shingles? Architectural shingles are the perfect choice for homeowners who want a durable, high-end roofing material that also adds aesthetic appeal to their home. With a three-dimensional design, architectural shingles provide depth and texture to the roof, giving it a more sophisticated look. Apart from their aesthetic appeal, architectural shingles are also incredibly durable. Made of multiple layers of material, they offer increased resistance to weathering, including wind, hail, and fire. Some manufacturers even offer warranties of up to 50 years, making them a wise investment for homeowners who want a long-lasting roofing solution. Architectural shingles are also easy to install, reducing both time and cost. They can be applied over an existing roof, eliminating the need for a full roof replacement. Additionally, the lightweight construction of the shingles makes them easy to handle during installation. While architectural shingles are more expensive than standard shingles, they offer a lot of benefits that make them worth the investment. With a variety of colors and styles available, homeowners can choose a design that complements their home's architecture and increases its curb appeal. Overall, architectural shingles are the perfect choice for homeowners who want a durable, aesthetically pleasing, and high-end roofing material. They offer a longer lifespan, increased resistance to weathering, and easy installation, making them a smart investment for any homeowner.

How Often Should I Have My Roof Inspected? Regular roof inspections are an essential part of maintaining the integrity of your home's roofing system. Your roof is responsible for protecting your home and everything inside it from the elements. Therefore, it's crucial to keep an eye on its condition and address any issues as soon as possible. The question often arises: how often should I have my roof inspected? Let's dive into the details; The general recommendation is to have your roof inspected at least once a year , preferably during the fall season. The autumn months are ideal because they come after the heat of summer and before the harsh winter weather sets in. During the inspection, a professional roofer will check for any potential issues that could arise in the winter months, such as leaks, missing or damaged shingles, and other damages. However, if you live in an area with severe weather conditions such as heavy rain, snow, or high winds, it's a good idea to have your roof inspected more frequently. Severe weather can damage your roof, and if left untreated, it can lead to costly repairs or even a full roof replacement. It's better to be safe than sorry and have your roof inspected after any significant weather event. Another factor that can affect the frequency of your roof inspections is the age of your roof. Most roofs have a lifespan of around 20-25 years, depending on the materials used and the quality of installation. If your roof is approaching the end of its lifespan, it's a good idea to have it inspected more frequently to ensure it's still in good condition. A professional roofer can assess the state of your roof and recommend any necessary repairs or replacements. In addition to annual inspections, it's also a good idea to perform regular visual checks on your roof. You can do this from the ground using binoculars or by climbing onto your roof (if it's safe to do so). Look for any visible signs of damage such as missing or damaged shingles, cracks, or leaks. If you notice any issues, it's essential to have them addressed as soon as possible to prevent further damage. Regular roof inspections can save you money in the long run by identifying potential issues early on before they turn into major problems. A professional roofer can spot issues that may not be visible to the untrained eye, such as hidden leaks or structural damage. Catching these issues early can prevent costly repairs or even a full roof replacement. In conclusion, it's recommended to have your roof inspected at least once a year, especially after severe weather conditions such as heavy rain, snow, or high winds . Regular inspections can help identify any potential issues early on before they turn into major problems. However, if you notice any signs of damage or leakage, it's best to have your roof inspected immediately by a professional. Additionally, if your roof is older than 10-15 years, it's a good idea to have it inspected more frequently to ensure it's still in good condition. Don't neglect the importance of regular roof inspections, as they can save you money and protect your home from damage.
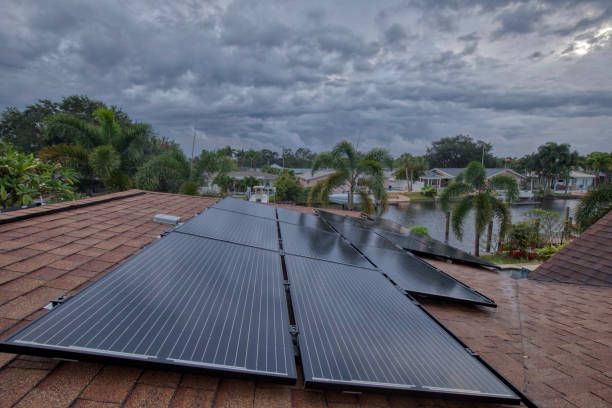
What Do I Need To Do To My Roof When Installing Solar Panels? One important factor to consider before installing solar panels on your roof is the condition of the roof itself. If your roof is old or in poor condition, it may not be able to support the weight of the solar panels. Additionally, installing solar panels on a roof that is already damaged or leaking can exacerbate these issues and cause further damage. Before installing solar panels, it's a good idea to have a professional roofer inspect your roof to ensure that it is in good condition and can support the weight of the panels. If your roof needs repairs or replacement, it's best to address these issues before installing solar panels. By taking the time to assess the condition of your roof, you can ensure that your solar panel installation is safe and effective. Plus, you'll avoid any potential problems down the line that could be costly to fix.